
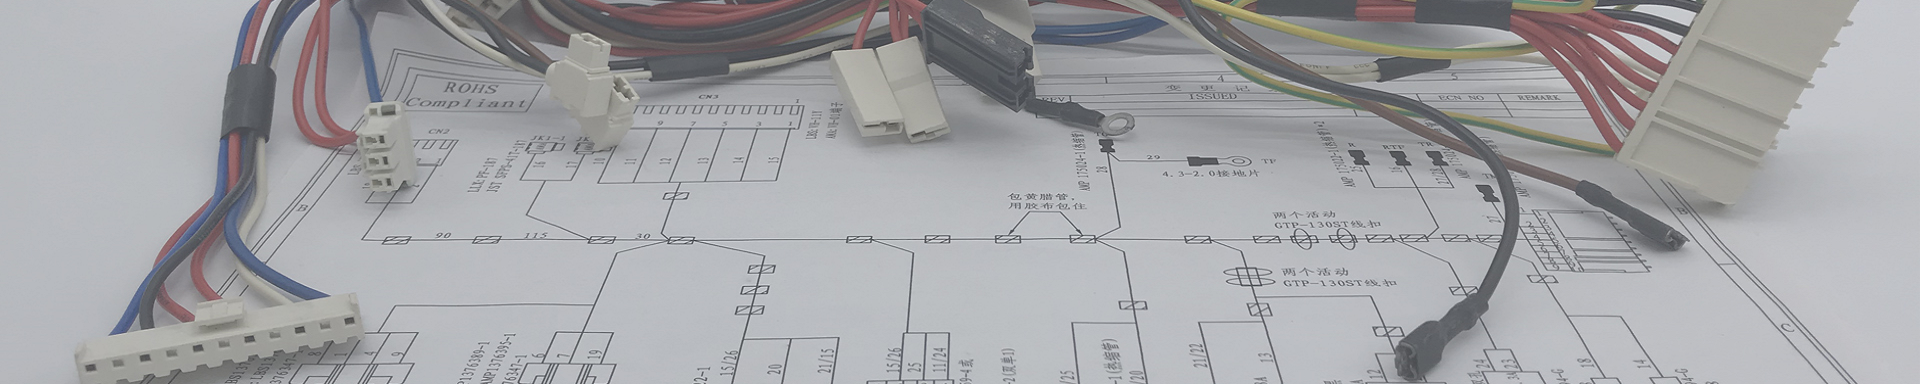
Wire Harness Testing | Best Practices for Cable Testing
2025-12-30 11:39When you use best practices for Wire Harness Testing, you help your projects avoid big problems. Careful testing makes sure your wiring is safe, works well, and follows the rules. If you skip testing steps, you could have safety issues, sudden stops, or costly recalls. Here are some common problems that happen when testing is missed:
If you test carefully, you give yourself a better chance to succeed.
Key Takeaways
Look closely at wires to find problems early. Check wire color, size, and if they are clean. This helps stop issues later.
Make sure every harness has clear labels and records. This makes it easy to find parts and fix things.
Test if electricity moves through each wire. This helps find wires that do not work.
Check insulation resistance often to spot weak spots. High resistance means insulation is good. Low resistance means there may be a problem.
Use HiPot testing to see if insulation can handle high voltage. This keeps wires safe and stops electrical problems.
Make sure crimp and terminal connections are tight and strong. Loose connections can cause power loss or signal trouble.
Use the right tools and stay safe during all tests. This keeps people and equipment safe.
Work with a trusted custom wire harness maker. They should use good methods and share test results for quality.
1. Wire Harness Testing Fundamentals
When you begin with Wire Harness Testing, you help make your product safe and dependable. Let’s look at the first steps you should always take.
Visual Inspection
A careful look can find most problems early. This step lets you see mistakes before they get worse.
Wire Color and Gauge
Check if each wire has the right color and thickness.
Make sure the wire matches the design drawing.
Using the wrong color or thickness can cause confusion and safety problems.
Cable Length Verification
Measure each cable to see if it is the right length.
If it is too short, it will not reach. If it is too long, it might get tangled or damaged.
The right length keeps your harness neat and easy to put in.
Contact Cleanliness
Look at every connector and contact.
Take off any dirt, oil, or debris.
Clean contacts help stop electrical problems and let signals move well.
Tip: Companies that use advanced visual inspection systems find over 99% of defects. Early checks like these save time and money by stopping problems before they leave the factory.
Labeling and Documentation
You need clear labels and good records for every harness you make. This step helps you track each wire and connector, so repairs and upgrades are easier.
Good labeling does more than keep things neat. It helps you:
Stay safe by stopping mix-ups and electrical dangers.
Fix problems faster because you know where each wire goes.
Meet industry rules and pass checks with less worry.
Note: Many fields, like aerospace and automotive, make you follow strict rules such as IPC/WHMA-A-620, AS9100, and IATF 16949. These rules make sure your Wire Harness Testing process is safe and high quality.
If you work with a custom wire harness maker, ask about their inspection and documentation steps. Good partners will always use these best practices to keep your projects on track.
2. Continuity Testing
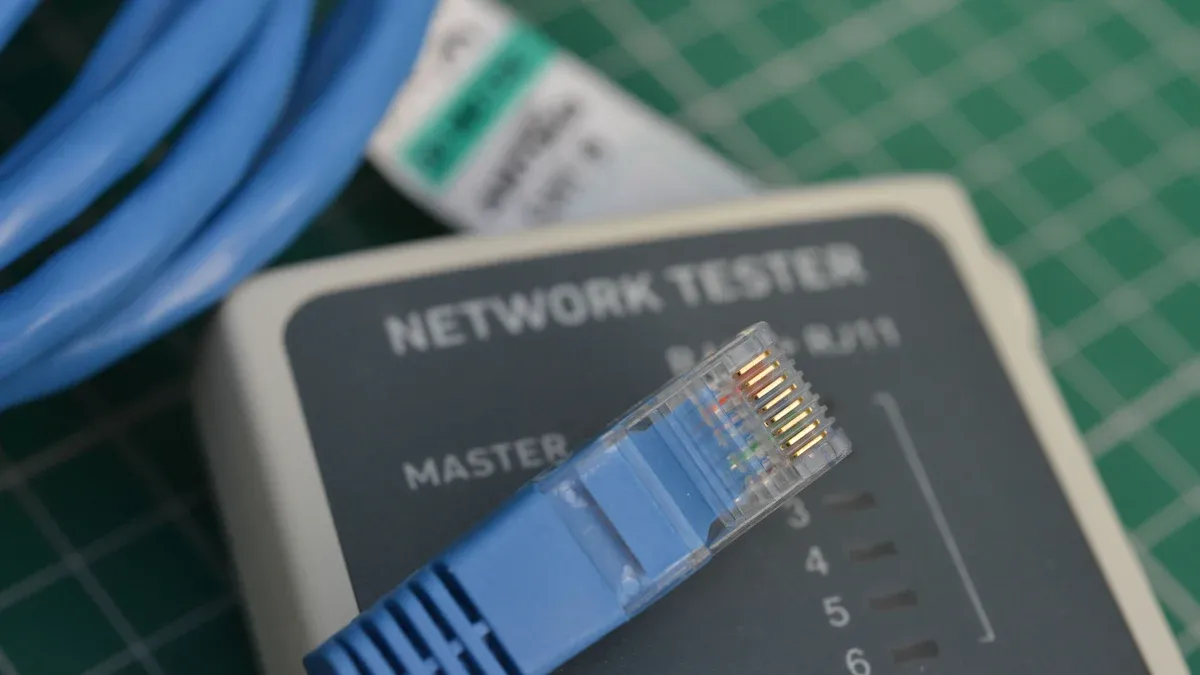
Continuity testing is a key part of Wire Harness Testing. You want to make sure every wire in your harness can carry electricity from one end to the other. If you skip this step, you might miss broken wires or bad connections that can cause big problems later.
Purpose of Continuity Testing
You use continuity testing to check if electricity can flow through each wire and connector. This test helps you find breaks or weak spots in the wiring. If a wire fails this test, it means the circuit is open and electricity cannot pass through. You want every wire to have a clear path for current. This step is important for safety and for making sure your harness works the way you want.
Tip: Always do continuity testing before you install the harness. It is much easier to fix problems now than after everything is put together.
Testing Steps
You can follow these steps to test continuity in your wire harness:
Turn off the power to the circuit. This keeps you safe and protects your tools.
Set your multimeter to the continuity mode. Look for a soundwave symbol on the dial.
Plug the black lead into the COM port and the red lead into the VΩ port.
Touch the probes to both ends of the wire or connector you want to test.
Listen for a beep or check the display. A beep or low resistance means the wire is good. No beep or infinite resistance means the wire is open.
Tools Used
Multimeter (with continuity mode)
Test leads (black and red)
Wiring diagram or harness drawing
A multimeter is your main tool. It can check for continuity, voltage, and resistance. Make sure you use the right ports and settings for each test.
Identifying Open Circuits
If you do not hear a beep or see a high resistance, you have an open circuit. This means the wire is broken or not connected right. Check the connectors, pins, and solder joints. Sometimes, a pin is not seated all the way or a solder joint is weak. You may need to wiggle the wire or check both ends to find the problem.
Common Issues
You might run into these problems during continuity testing:
Bad specs: If your pass/fail settings are too loose, you might miss weak wires.
Cold solder joints: If the solder is not set, the connection can fail later.
Improperly seated pins: Pins not pushed in all the way can cause open circuits.
Damaged insulation: Wires with cut or pinched insulation can short out.
Dirty contacts: Dirt or oil on contacts can block the signal.
Worn interface cables: Old or damaged test cables can give false results.
Note: Always clean your connectors and check your tools before you start. Do not test live circuits. Double-check your results if you hear a beep, but the resistance is high.
If you work with a custom wire harness manufacturer, ask about their continuity testing process. Good partners will have strong testing steps to catch these issues before the harness leaves the factory.
3. Insulation Resistance Measurement
You want your wire harness to work well and be safe. Insulation resistance measurement helps you find problems early. This test checks if the insulation around wires is strong. Good insulation stops electricity from leaking out. If the insulation fails, you can have electrical trouble or safety risks. Regular insulation checks help your harness stay reliable, even in tough places or high-power systems.
Importance of Insulation Checks
Insulation resistance checks show if the insulation is getting weak. Weak insulation can make wires short out or give shocks. You should test insulation often to keep your harness safe. During Wire Harness Testing, you use high DC voltage on the wires. You want to see high resistance numbers. High resistance means the insulation is working and stops electricity from leaking.
Tip: If you buy from a custom wire harness maker, ask how often they test insulation resistance. Good companies test every harness to find problems early.
Testing Procedure
Here are steps to measure insulation resistance:
Insulation resistance testing checks if the insulation keeps electricity from leaking between wires and the cable’s shield.
This test makes sure the insulation is not broken and can block unwanted electricity.
Equipment Selection
Pick the right tool for the job. Most people use a megohmmeter or insulation resistance tester. These tools send high DC voltage through the wire harness. You read the resistance number on the screen. Always check your tool’s settings before you start. Make sure the voltage matches your harness needs.
Environmental Factors
The environment can change your test results. Here are things to watch:
Humidity can make resistance numbers lower. Wet air makes insulation look weaker.
Always write down the temperature and humidity during your test.
Insulation temperature matters most. Change your results to a standard temperature, like 20°C, for correct readings.
Note: If you test in a hot or wet room, your numbers might look bad even if the harness is fine. Try to test in a controlled space when you can.
Interpreting Results
After the test, you need to know what the numbers mean. International rules like IEC 60270 and UL tell you what is safe. These rules say how much resistance you should see and how to do the test. For example, IEC rules say that for PV systems with an open circuit voltage over 120 V DC, the insulation resistance must be higher than 1 MΩ. If your number is lower, you might have a problem with the insulation.
If you see low resistance, check the harness for damage or water. High resistance means your insulation is strong. Always compare your results to the latest rules. If you buy from a custom wire harness maker, ask them to share their test results and explain how they meet these rules.
Alert: Never ignore low insulation resistance. It can mean your harness is unsafe and needs repair or replacement.
4. HiPot Testing
HiPot Test Overview
HiPot testing, or high potential testing, checks if your wire harness insulation can handle high voltage without breaking down. You use this test on wire harnesses, cables, and even circuit boards. The main goal is to make sure the insulation stands up to electrical stress. This test helps you find weak spots that could cause shocks, fires, or equipment failures. When you do HiPot testing, you apply a much higher voltage than normal. If the insulation holds, your harness is safe and meets industry standards.
Tip: HiPot testing simulates tough conditions. If your harness passes, you know it will work safely in real life.
Safety Precautions
You must follow strict safety rules during HiPot testing. High voltage can be dangerous. Here are some important steps:
Wear personal protective equipment (PPE) like gloves and safety glasses.
Check all cables and connectors for damage before you start.
Use a HiPot tester that matches your harness type.
Make sure only trained staff run the test.
Keep the test area clear of anyone not involved in the process.
You also need to watch for leakage current. This shows if the insulation is strong enough. If you skip these steps, you risk electrical shocks, fires, or even legal trouble.
Alert: Never ignore safety standards. Failing to follow them can hurt people and damage your reputation.
Performing the Test
You can follow these steps to run a HiPot test on your wire harness:
Get ready. Put on PPE and check the harness for damage.
Set up your HiPot tester. Connect the leads to the right spots.
Pick the right voltage and test time for your harness.
Start the test. Raise the voltage slowly and watch for problems.
When the test ends, lower the voltage and check the results.
Discharge any leftover electricity before you touch the harness.
Voltage Settings
You need to use the right voltage for your test. The voltage is much higher than what the harness will see in normal use. Here are some common settings:
Some tests use up to 5,000 volts, depending on the harness type. Always check your specs before you start.
Detecting Insulation Breakdown
Watch for any sign of insulation breakdown during the test. If you see a sudden jump in leakage current or the tester alarms, stop right away. This means the insulation has failed. You need to find the weak spot and fix it before using the harness.
Note: If you work with a custom wire harness manufacturer, ask how they handle HiPot testing. Good partners will share their test steps and results with you.
Troubleshooting
Even when you follow every step, HiPot testing can sometimes bring surprises. If your wire harness fails, you need to find out why. Let’s walk through some common issues and how you can fix them.
1. Check Your Equipment First
Before you blame the harness, look at your test setup. Problems often start with the tools.
Inspect all testing equipment for damage or wear. Even a small crack in a test lead can cause false failures.
Make sure you use the right personal protective equipment (PPE) every time.
Always test in a controlled environment. Dust, moisture, or static can mess with your results.
Double-check that all grounding connections are tight and secure.
Follow the manufacturer’s guidelines for your HiPot tester. Each model has its own quirks.
Tip: If you work with a custom wire harness manufacturer, ask how often they check and calibrate their HiPot testers. Good partners keep their tools in top shape.
2. Review Your Test Settings
Wrong settings can make a good harness look bad.
Use the correct voltage for your harness. Too high or too low can give you the wrong answer.
Keep the voltage stable during the test. Aim for ±1% regulation for the best results.
Make sure the ripple content stays below 5% RMS. High ripple can hide real problems.
Apply either positive or negative voltage, not both. This keeps your results clear.
3. Watch the Test Duration
How long you run the test matters.
For routine HiPot testing, hold the voltage for 60 seconds.
In production, you can use a shorter test—just 1 second at 120% of the standard voltage.
These times help you catch weak insulation that might fail later.
4. Look for Insulation Breakdown
If you see a sudden jump in leakage current or the tester alarms, stop the test right away. This means the insulation has broken down.
Check for pinched wires, damaged insulation, or moisture inside connectors.
Sometimes, a harness fails because of a small nick or cut you missed during assembly.
If you buy from a custom wire harness manufacturer, ask for a report on any failures. Good companies will show you what went wrong and how they fixed it.
5. Fix and Retest
After you find the problem, repair or replace the damaged part. Then, run the HiPot test again. Never skip this step. You want to make sure the harness is safe before it leaves your shop.
Note: A reliable custom wire harness manufacturer will always troubleshoot, repair, and retest every harness that fails. This keeps your projects safe and your reputation strong.
Troubleshooting Table
When you follow these steps, you can solve most HiPot testing problems quickly. If you work with a custom wire harness manufacturer, make sure they have strong troubleshooting steps. This helps you avoid delays and keeps your products safe.
5. Mechanical and Signal Validation
To make your wire harness last, you must check both the mechanical connections and how well signals travel. If you use a custom wire harness manufacturer, they should always do these checks.
Mechanical Connection Checks
A strong mechanical connection keeps your harness safe. You can find problems early if you know what to check.
Crimp and Terminal Security
Always make sure each crimp is tight.
Loose crimps can make power flicker or signals drop.
Check that terminals are locked and not bent.
Ask your custom wire harness manufacturer if they use IPC-620 standards.
Tip: If you see bad crimps or loose terminals, ask your custom wire harness manufacturer to fix them before you use the harness.
Broken Strands Detection
Look for broken or missing wire strands at each end.
Broken strands can make the harness weak and cause it to fail.
Use a magnifier or inspection tool to check every wire.
Clean connectors to stop rust and keep signals strong.
Cleaning and checking your harness often helps it last longer. Ask your custom wire harness manufacturer about their cleaning routine.
Signal Performance Testing
You want every wire to send signals with no trouble. Signal testing helps you find problems before they get worse.
Resistance Measurement
Use a multimeter to check resistance at each spot.
High resistance means a bad connection or damaged wire.
Insulation resistance testing finds weak spots that could fail.
Advanced tools like masked megohmmeters give fast, correct results.
If you use a custom wire harness manufacturer, ask for resistance test reports to see how your harness does.
Intermittent Error Detection
Watch for errors that come and go, like flickering lights or dropped signals.
These problems often show up with shaking or heat changes.
Check for loose contacts, damaged insulation, or wires in the wrong place.
Use signal tests and look closely to find hidden problems.
Common causes of intermittent errors:
Weak contacts
Wrong wiring
Damaged insulation or housing
Modern custom wire harness manufacturers use smart tools and sensors to find even tiny faults. These new tools help you avoid costly downtime.
If you follow these steps and work with a custom wire harness manufacturer that uses the best testing methods, you can trust your harness to work well in any situation.
You can make your product work better by using these five best practices for Wire Harness Testing:
Test the electrical load.
Choose materials that fit the environment.
Guard wires from damage.
Use good grounding.
Follow safety rules.
Learning and following rules is important, too:
Look at your testing steps or get better tools to keep your harnesses safe and strong.
FAQ
What is a wire harness?
A wire harness is a bunch of wires tied together. You use it to link electrical parts. A custom wire harness manufacturer makes harnesses for your project.
Why should I choose a custom wire harness manufacturer?
You get harnesses made just for your job. A custom wire harness manufacturer checks each harness for safety and quality. This saves you time and helps you avoid mistakes.
How often should I test my wire harness?
Test every harness before you use it. A custom wire harness manufacturer tests each harness during and after making it. Regular testing keeps your equipment safe.
What tests does a custom wire harness manufacturer perform?
You will see tests like continuity, insulation resistance, HiPot, and mechanical checks. These tests help find problems early. A custom wire harness manufacturer uses these steps to make sure your harness works well.
Can I reuse a wire harness?
Do not reuse a wire harness unless a custom wire harness manufacturer checks and tests it first. Old harnesses might have hidden damage.
How do I know if my harness meets industry standards?
Ask your custom wire harness manufacturer for test reports and certificates. They should follow rules like IPC/WHMA-A-620. This keeps your harness safe and dependable.
What should I do if my harness fails a test?
Stop using it right away. Contact your custom wire harness manufacturer for help. They can fix or replace the harness and test it again for you.
How do I pick the right custom wire harness manufacturer?
Look for experience, strong testing steps, and good reviews. A good custom wire harness manufacturer shares test results and follows industry rules. You get better quality and support.